TRANSFORM YOUR HOME INTO A GOLF PARADISE: A STEP-BY-STEP GUIDE TO DESIGNING AND INSTALLING A GOLF SIMULATOR
Are you a golf enthusiast who dreams of playing your favorite sport anytime, regardless of the weather or time constraints? It's easier than you think to design and install a golf simulator in your home.
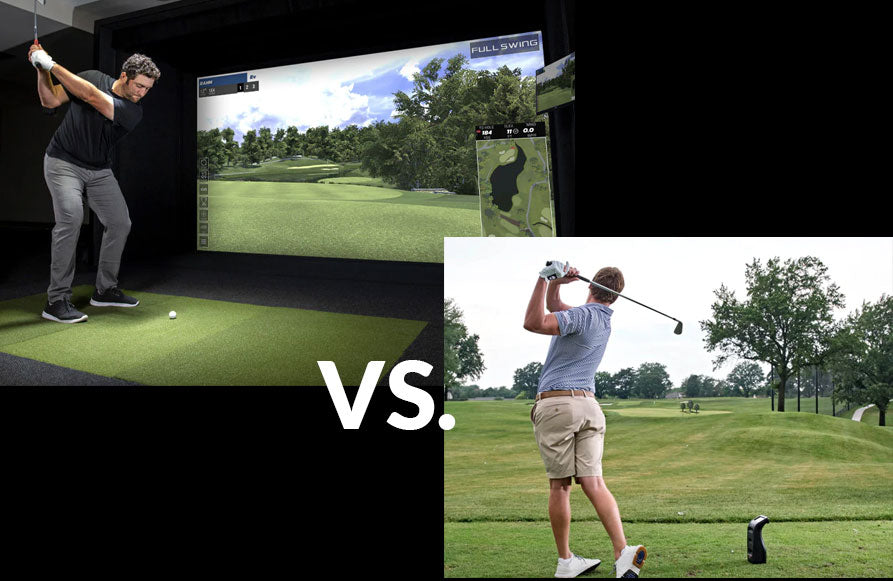
Imagine having a fully immersive experience in the comfort of your own living space—an opportunity to refine your swing, practice different courses, and bring your friends together for thrilling competitions. This step-by-step guide on designing and installing a golf simulator that will elevate both your game and enjoyment to new heights.
Golf Simulators and their Benefits
Golf simulators have become increasingly popular among golf enthusiasts who want to improve their game or simply enjoy playing golf from the comfort of their own home. These advanced technology systems use high-speed cameras, sensors, and simulation software to provide a realistic golfing experience indoors.
What is a Golf Simulator?
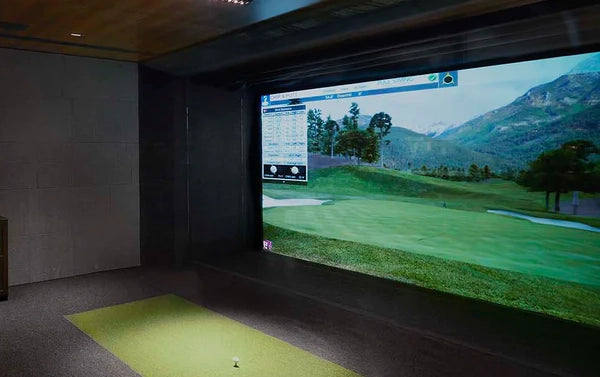
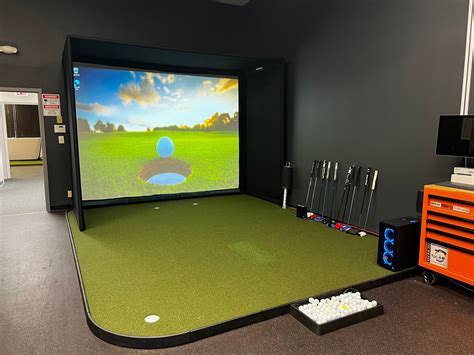
A golf simulator is a setup that allows you to play golf in an indoor setting by using virtual reality technology. It consists of a large screen or projector, special software, and sensors that track your movement and replicate it on screen. The setup can also include other features such as swing analysis tools, customizable course options, and real-time ball flight data.
Benefits of Using Golf Simulators
- Convenience: One of the biggest advantages of having a golf simulator at home is convenience. You no longer have to drive to the nearest driving range or country club for practice; instead, you can enjoy your favorite sport anytime you want in your own space.
- Weatherproof: With a golf simulator, weather conditions are no longer an obstacle for practicing or playing a round of golf. Whether it's raining outside or too cold to go out on the course, you can still work on your swing with ease.
- Cost-effective: Playing at traditional outdoor courses can be expensive due to green fees and equipment rental costs. With a one-time investment in a golf simulator, you get unlimited access and hours for years to come.
- Gamify with friends: A home golf simulator also opens up new opportunities to becoming the coolest neighbor on the block. You can hold friendly golf competitions, tournaments and other game-play options with virtual golfing games (varies by manufacturer).
Step 1: Assessing Your Space and Budget
Assessing your space and budget is the first step in transforming your home into a golf paradise. This crucial step will lay the foundation for the design and installation process of your very own golf simulator.
1. Evaluate Your Space:
The first thing you need to do is assess the available space in your home where you want to install the golf simulator. Ideally, you should have an area of at least 10 feet by 15 feet with a ceiling height of 10 feet or more for optimal gameplay. This will allow enough room for swinging and hitting shots without any obstructions.
Make sure to measure the dimensions accurately before finalizing on a spot for your golf simulator. You can also consult with a professional installer who can advise on the best location based on your specific space constraints.
2. Consider Your Flooring:
Another important factor to consider is the type of flooring in your designated space. The flooring needs to be sturdy enough to support heavy equipment such as mats, screens, projectors, and other accessories that come with a golf simulator setup.
If you have carpeted floors, it may not be suitable as they can cause damage over time due to constant foot traffic and weight distribution from swings. Hardwood or concrete floors are more durable options that can withstand the weight and movement associated with playing golf indoors.
3. Assess Your Budget:
Once you have evaluated your space requirements, it’s important to know exactly how much you have to spend on the equipment. Golf simulator technology varies greatly, from a few hundred dollars to over $50,000. So figure out what your max budget can be - keeping in mind that consumer financing is available.
Step 2: Choosing the Right Simulator
Once you have determined the ideal location for your golf simulator, it is time to choose the right equipment. With so many options available on the market, it can be overwhelming to know where to start. Here's what we suggest:
1. Type of simulator
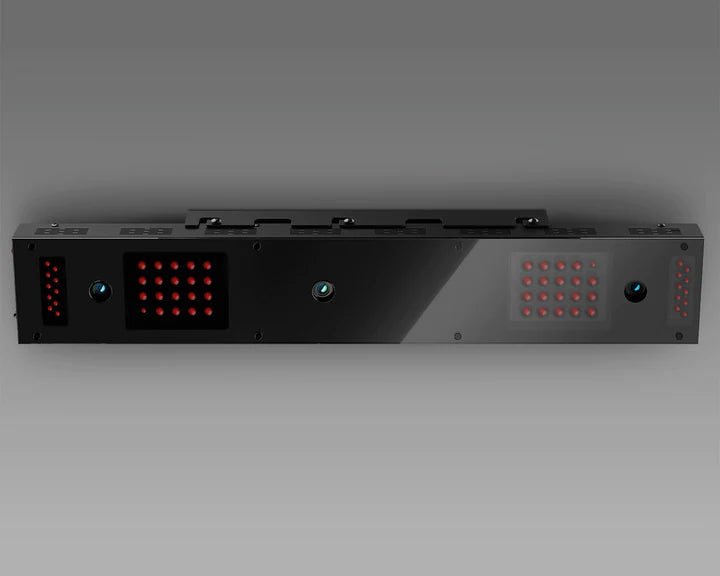
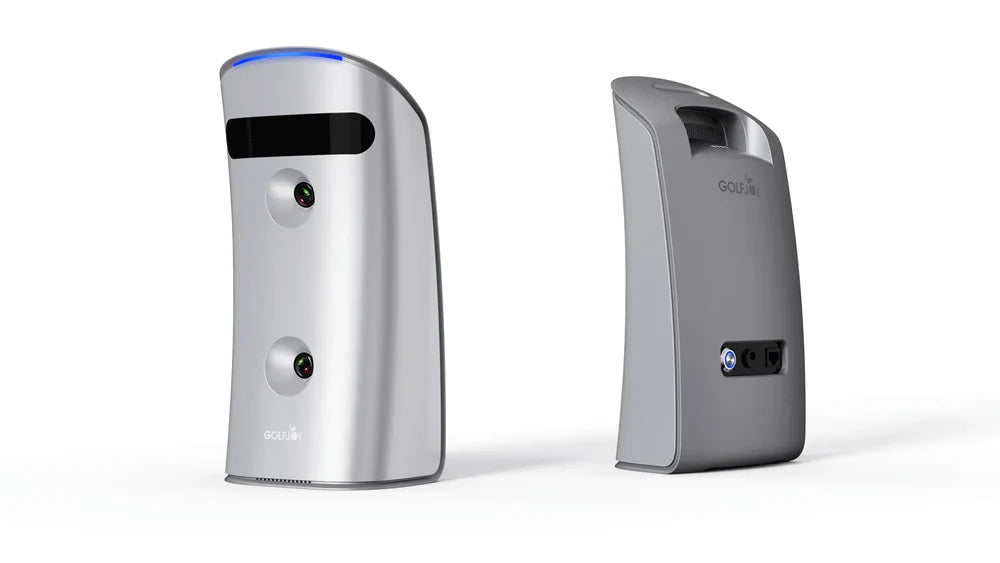
There are two main types of golf simulators – launch monitors and full swing simulators. Launch monitors use high-speed cameras or radar technology to track ball flight, while full swing simulators use infrared sensors or optical sensors to capture club data as well as ball flight. Full swing simulators offer more accurate data but come at a much higher cost than launch monitors.
2. Features and software
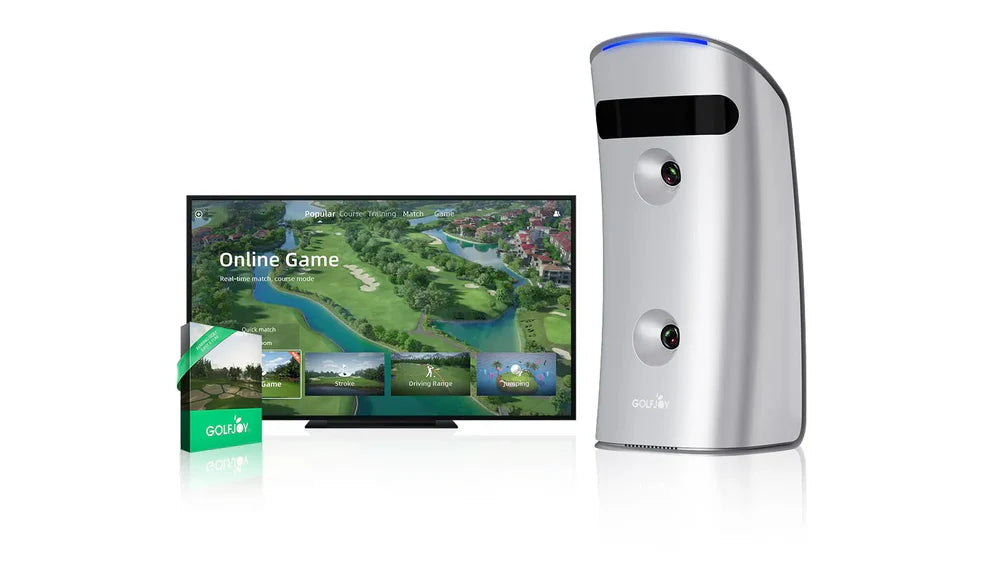
Each simulator comes with its own set of features and software capabilities. Some may have built-in courses and challenges, while others allow users to customize their own courses or even play online against other players around the world.
3. Asses your own Goals & Skills
Figure out your biggest goal. Are you looking to improve your own golf game? Do you want a fun way to keep your family active during inclement seasons? Do you want to have the best BBQ's & parties?
Our Recommendations
Best Golf Simulators - unlimited budget
Full swing is the best launch monitor on the market, but it's also the most expensive. If you have an unlimited budget, the FULL SWING GOLF SIMULATOR is the way to go.
Best Golf Simulator $20-50K
If you want the best golf simulator on the market at a discounted rate (up to 30% OFF the price of a new golf simulator) with the manufacturers warranty intact - you'll want to purchase one of our CERTIFIED PRE-OWNED FULL SWING GOLF SIMULATORS. We are the only certified pre-owned Full Swing dealer - that means that we sell used full swing simulators that have a manufacturers warranty. Can you find bargain pricing on used simulators on ebay or craig's list? Sure, but when it doesn't work quite right or when (not if) it needs updates, you won't be able to get any support from Full Swing.
AboutGolf is another option for high-end golf simulator equipment with pricing ranging from $17,500 an up. With super-high end options like curved screens, pinpoint precision and screen-in-screen features - the sky's the limit as long as your budget is too.
Best Golf Simulator under $20K
The AboutGolf base package starts at $17,500. aG Trainer is their DIY simulator-in-a-box that delivers precision technology at a relatively low price point (compared to other high-end golf simulators). You create the enclosure and select your audio-visual equipment. The aG Trainer includes a high-performance laptop, 3Trak® technology, hitting strip, stance mat, cables, and step-by-step installation instructions.
Best golf sim under 10k
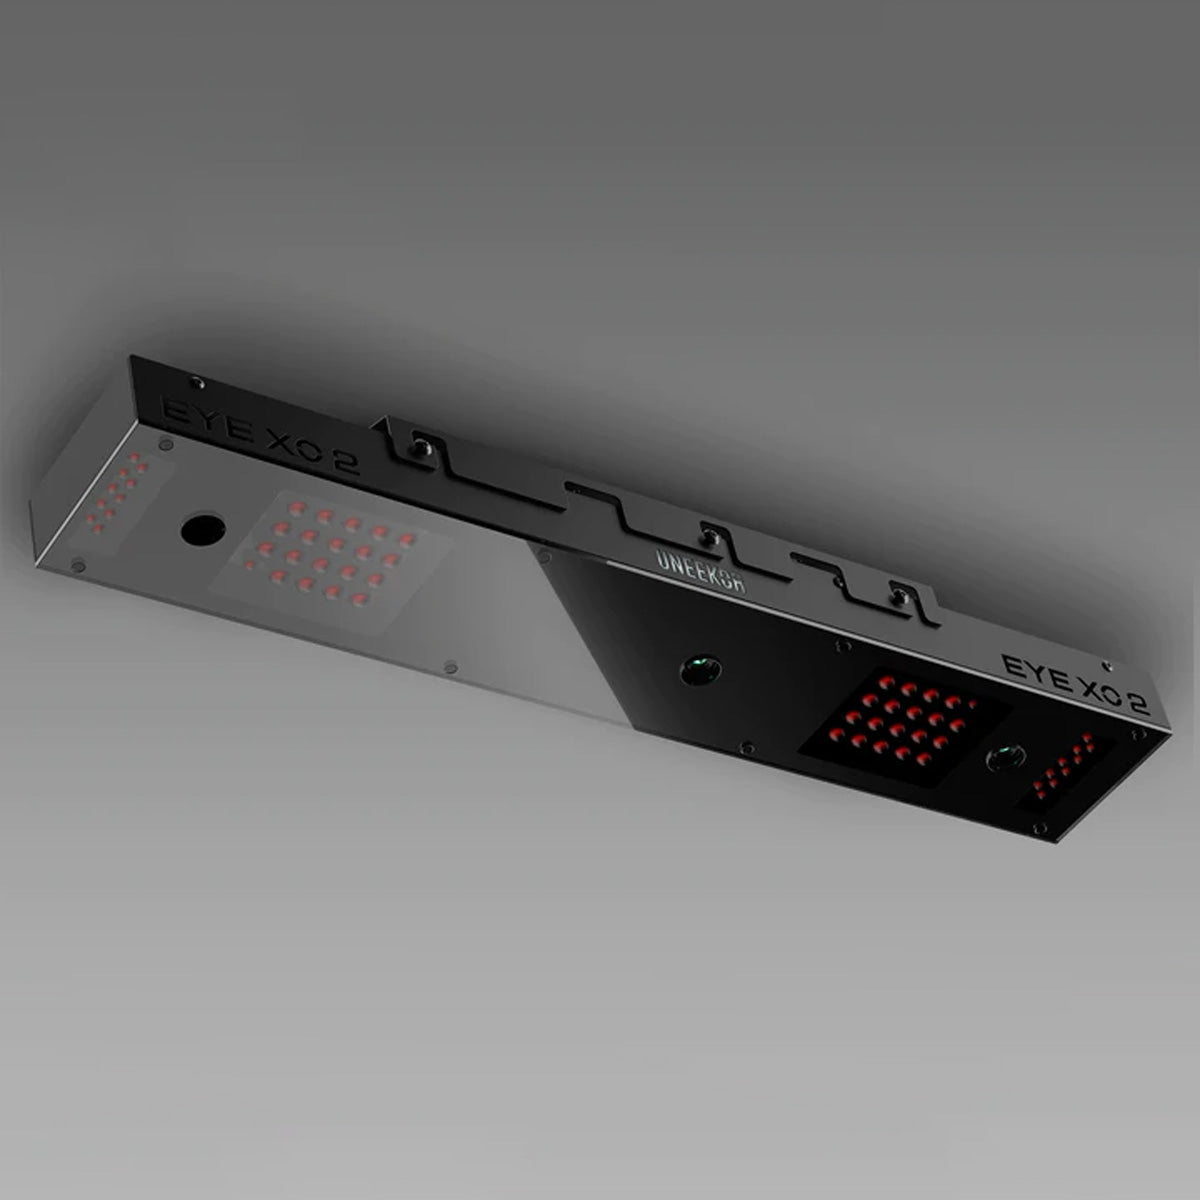
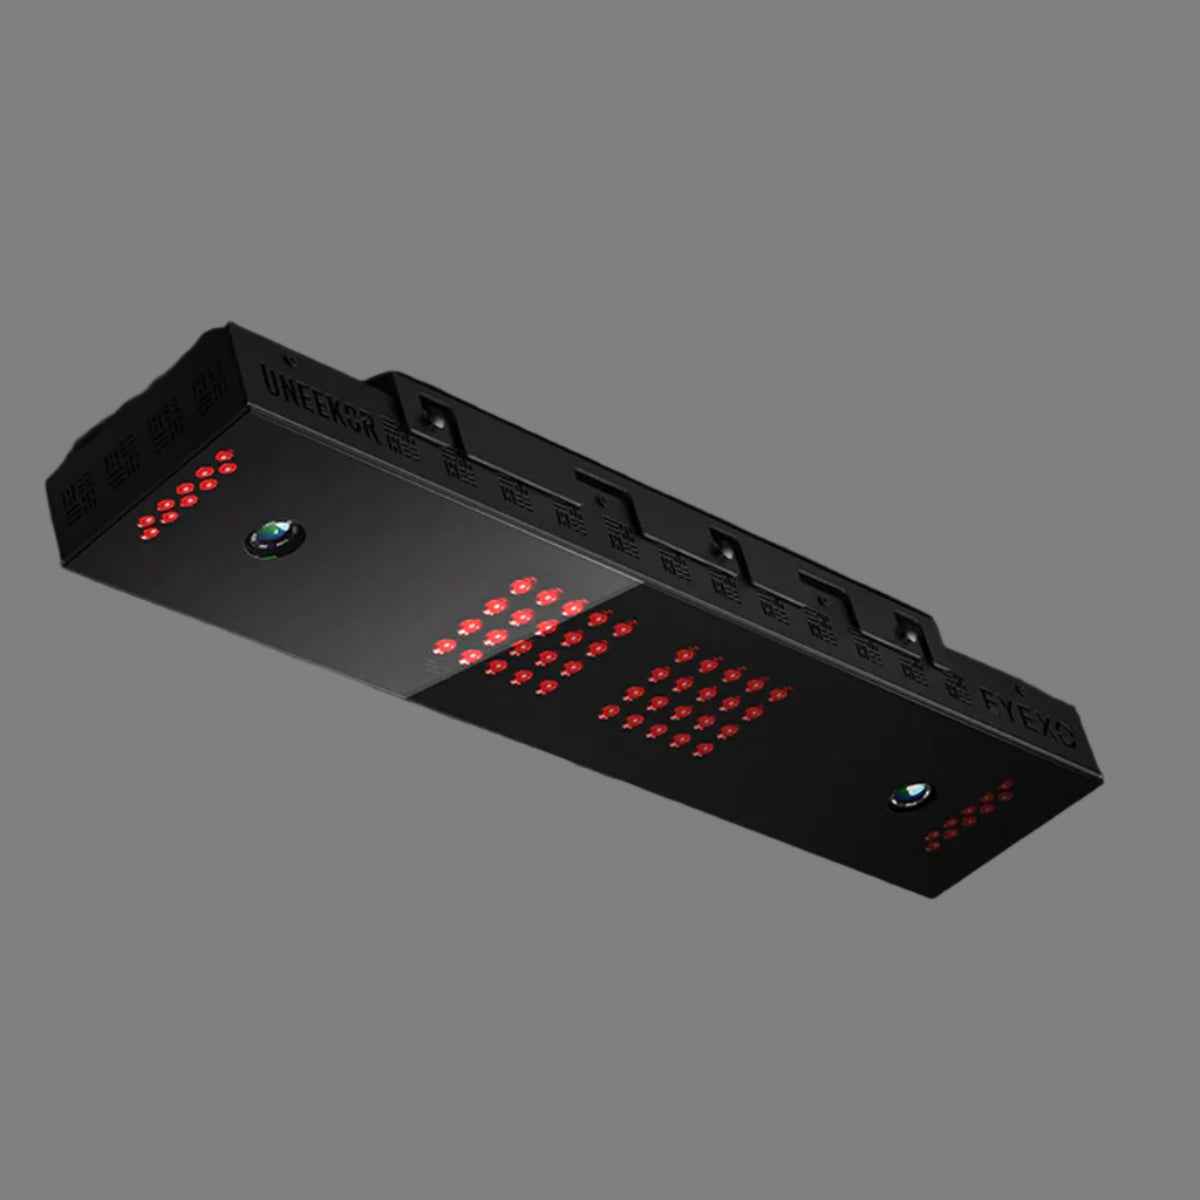
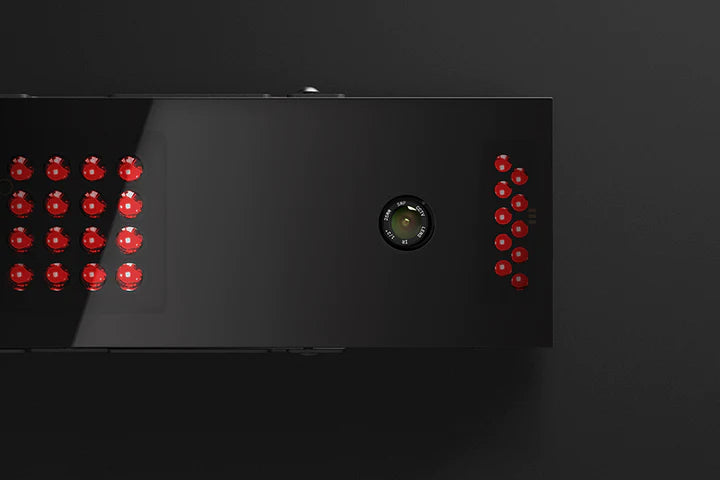
Our top recommendation for this price range is the Uneekor QED package. This starts at $7,000 and gives you lots of options for upgrading various equipment, software, enclosure and other accessories.
Protee launch monitors are FINALLY in stock! With our recommended model starting at $6,500. You'll have to purchase the enclosure and other accessories separately.
Best launch monitor under 5k
In this range you're really getting into the portable launch monitors - which aren't going to be as accurate or provide as detailed information as a home golf simulator, but these have a lot of great information, many are portable and can be used on the golf course as well as at home in an enclosure. the gamification aspect and mulit-sport options will be much more limited than the higher prices simulators, but for those with a tight budget, you can still enjoy a lot benefits of the higher priced models.
Full Swing Launch Monitor ($4,999), Flightscope Mevo+ Launch Monitor ($2,199) or the Skytrak Launch Monitor ($1,995) are our top recommendations.
Best Launch monitors under 1k:
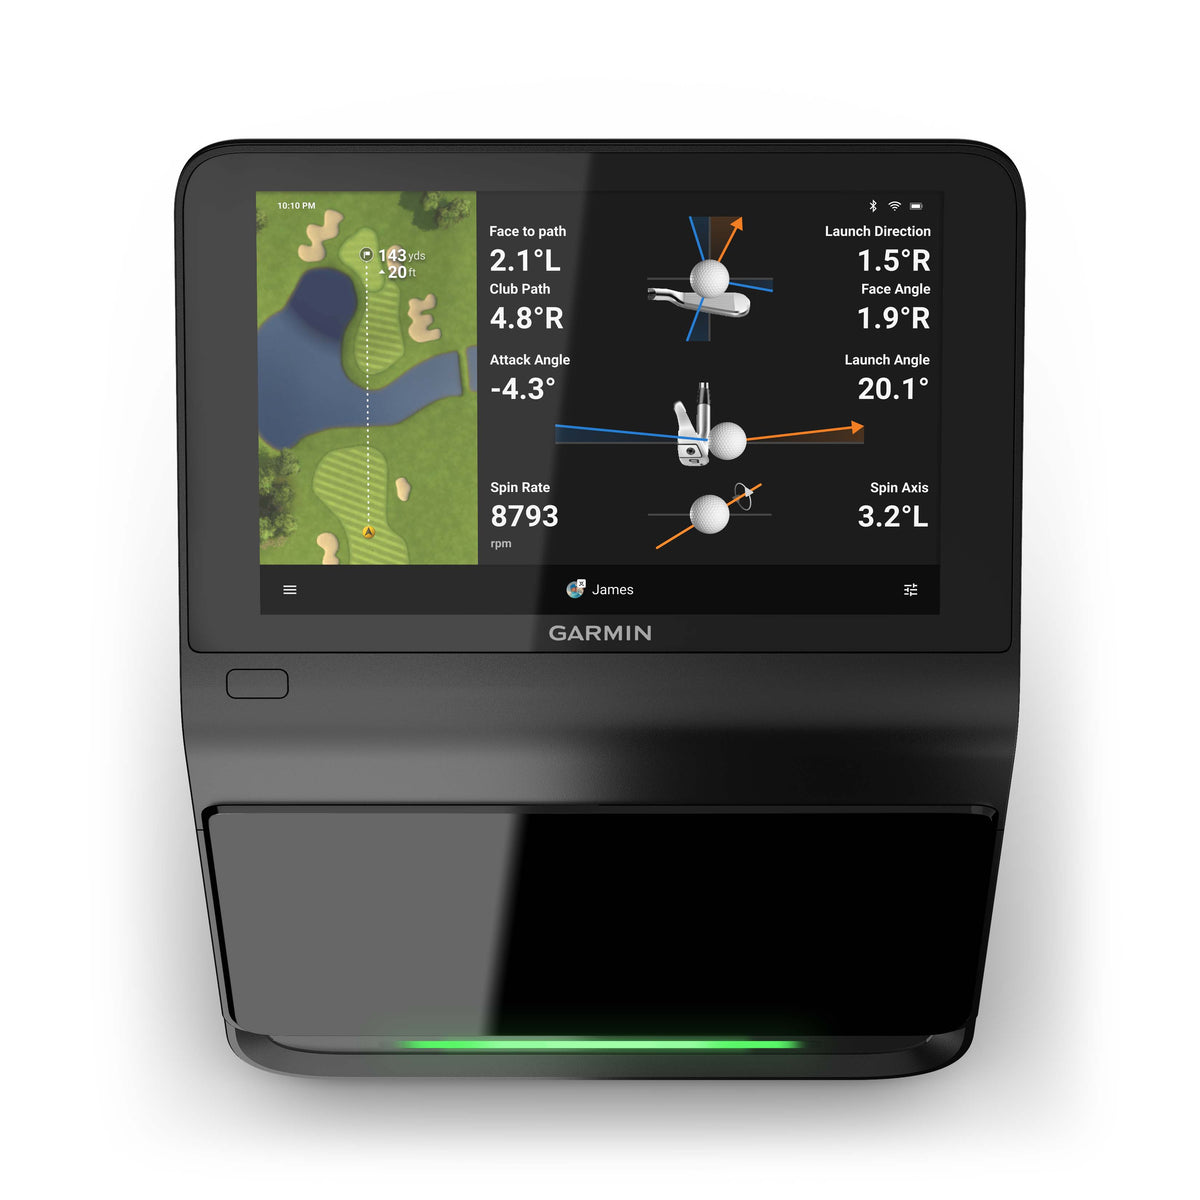
Choose from Garmin, Bushnell & Flightscope
Step 3: Designing Your Simulator Room for Optimal Performance
Now that you have chosen your golf simulator and prepared the space for installation, it's time to design your simulator room for optimal performance. This step is crucial as it can greatly affect the accuracy and enjoyment of your virtual golf experience.
1. Choosing the Right Location
Consider the location and flow of traffic. You want to make sure there is no thru-traffic that could impact the player or cause a bystander to walk into the swing space. Consider where the room entry-ways and doors are located and position the simulator accordingly. The direction of the hit is also something to consider.
2. Controlling Natural Light
Natural light can interfere with the sensors and cameras in some simulators, leading to inaccurate readings. To avoid this issue, choose a room with minimal natural light or windows that can be covered during gameplay.
You can install blackout curtains or blinds to block out any excess light from outside sources. If your chosen location has windows on one side only, position the screen so that it faces away from them.
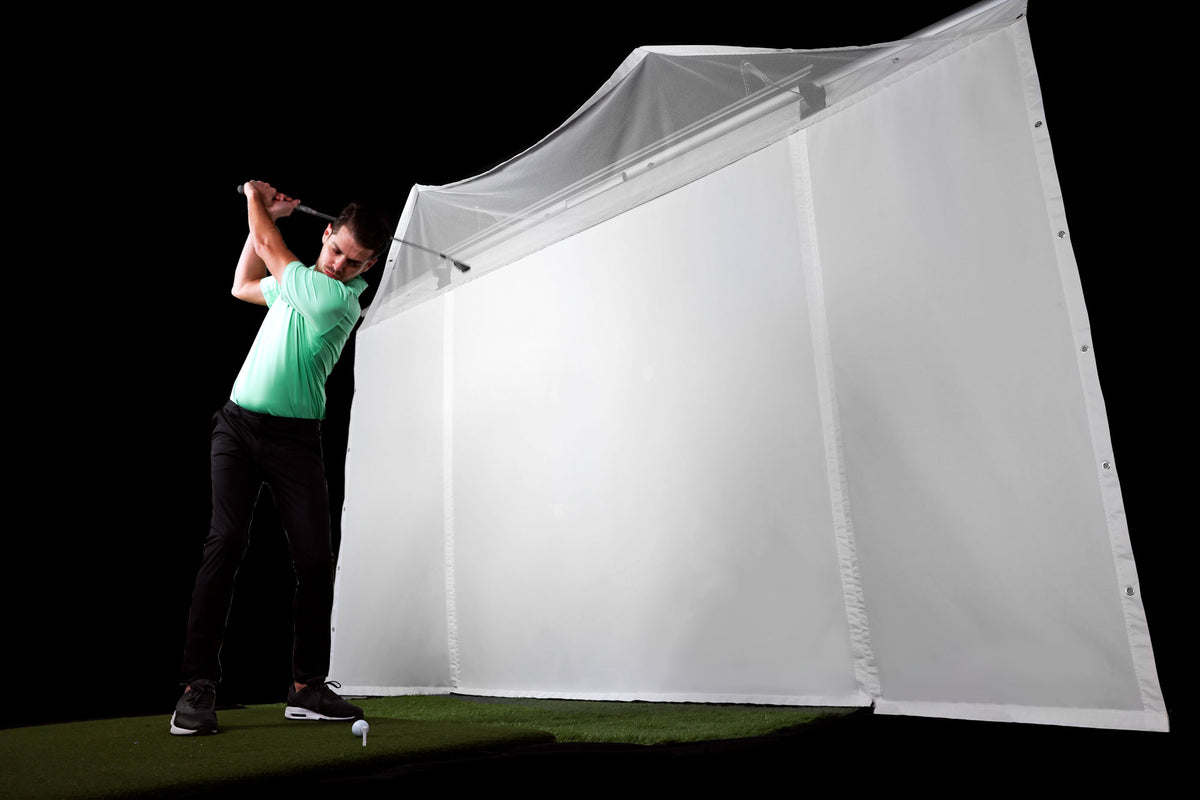
3. Netting, enclosures and other safety equipment
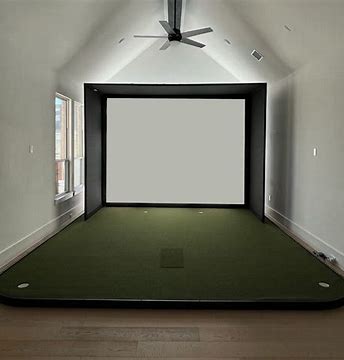
Once you've determined the best location and position for your golf simulator, you may should consider additional equipment like a project screen, netting, baffles, hitting mat and wall treatment. The netting will catch any stray shots so that they don’t cause damage to your walls or belongings. You can purchase pre-made enclosures specifically designed for golf simulators or create one yourself using PVC pipes and netting.
4. Install the Screen & Projector if included/required in your simulator package
The next step is to install the projector which will display the virtual course onto a screen or wall in front of you. If you've purchased a screen, be sure to set that up according to the manufacturer instructions. Place the projector at an appropriate distance from the screen (this distance may vary depending on the model of projector) and ensure that it is securely mounted or placed on a stable surface.
5. Setup mats and hitting surface if you chose to purchase those.
6. Setup up launch monitor or golf simulator computer. If using a projector, you'll need to connect that together at this point.
7. Familiarize Yourself with the Equipment
Before diving into a full game, take some time to familiarize yourself with all the equipment involved in your golf simulator. This includes not just the computer and software, but also the projector, screen, netting, sensors, and any other components specific to your setup. Understanding how each piece works and the various settings and features it has will not only make things run smoother but also help troubleshoot any issues that may arise.
8. Adjust Your Setup According to Your Needs
One of the biggest advantages of having a personal golf simulator is being able to customize it according to your preferences and needs. Experiment with different settings such as tee height, ball position, club selection options, etc., until you find what works best for you. Remember that this is YOUR personal golf paradise and you can change and adjust every aspect as your needs change!
9. PLAY GOLF!
Step 5: Tips for Maintaining and Improving Your Golf Simulator Experience
Now that you have successfully designed and installed your very own golf simulator, it’s important to know how to maintain and improve your experience. Like any other piece of equipment or technology, regular maintenance is crucial in ensuring its longevity and optimal performance. In this section, we will discuss some key tips for maintaining and improving your golf simulator experience.
1. Keep the Room Clean and Organized
The first step in maintaining your golf simulator is to keep the room clean and organized. This includes regularly dusting off the equipment, wiping down the screens, and vacuuming or sweeping the floor. It’s also important to store all accessories such as clubs, balls, tees, etc., in a designated area to avoid clutter.
2. Check for Any Damage or Defects
Regularly inspecting your golf simulator for any damage or defects is essential in keeping it functioning properly. Check for any tears or holes in the screen, loose wires or connections, and any wear-and-tear on the equipment. If you notice any issues, address them immediately before they worsen.
3. Calibrate Your Equipment
To ensure accurate readings during gameplay, it’s important to calibrate your sensors regularly. This can be done through your software program or by following specific instructions from your manufacturer. By calibrating at least once a month, you can prevent inaccurate readings which can affect your overall experience.
4. Upgrade Your Software
Just like your laptop of smarphone require regular software updates, so do launch monitors and golf simulator equipment. Check the manufacturers website regularly and signup to the manufacturers mailing lists.
Enjoying Your Personal Golf Paradise at Home!
Congratulations! You have successfully designed and installed your very own golf simulator at home. Now it's time to sit back, relax, and enjoy your personal golf paradise whenever you want.
Golf simulators have become increasingly popular among avid golfers who want to improve their game or simply enjoy a round of golf in the comfort of their own home. With the help of our step-by-step guide, you have now joined this growing trend and created your own private oasis for practicing or playing virtual rounds with friends and family.